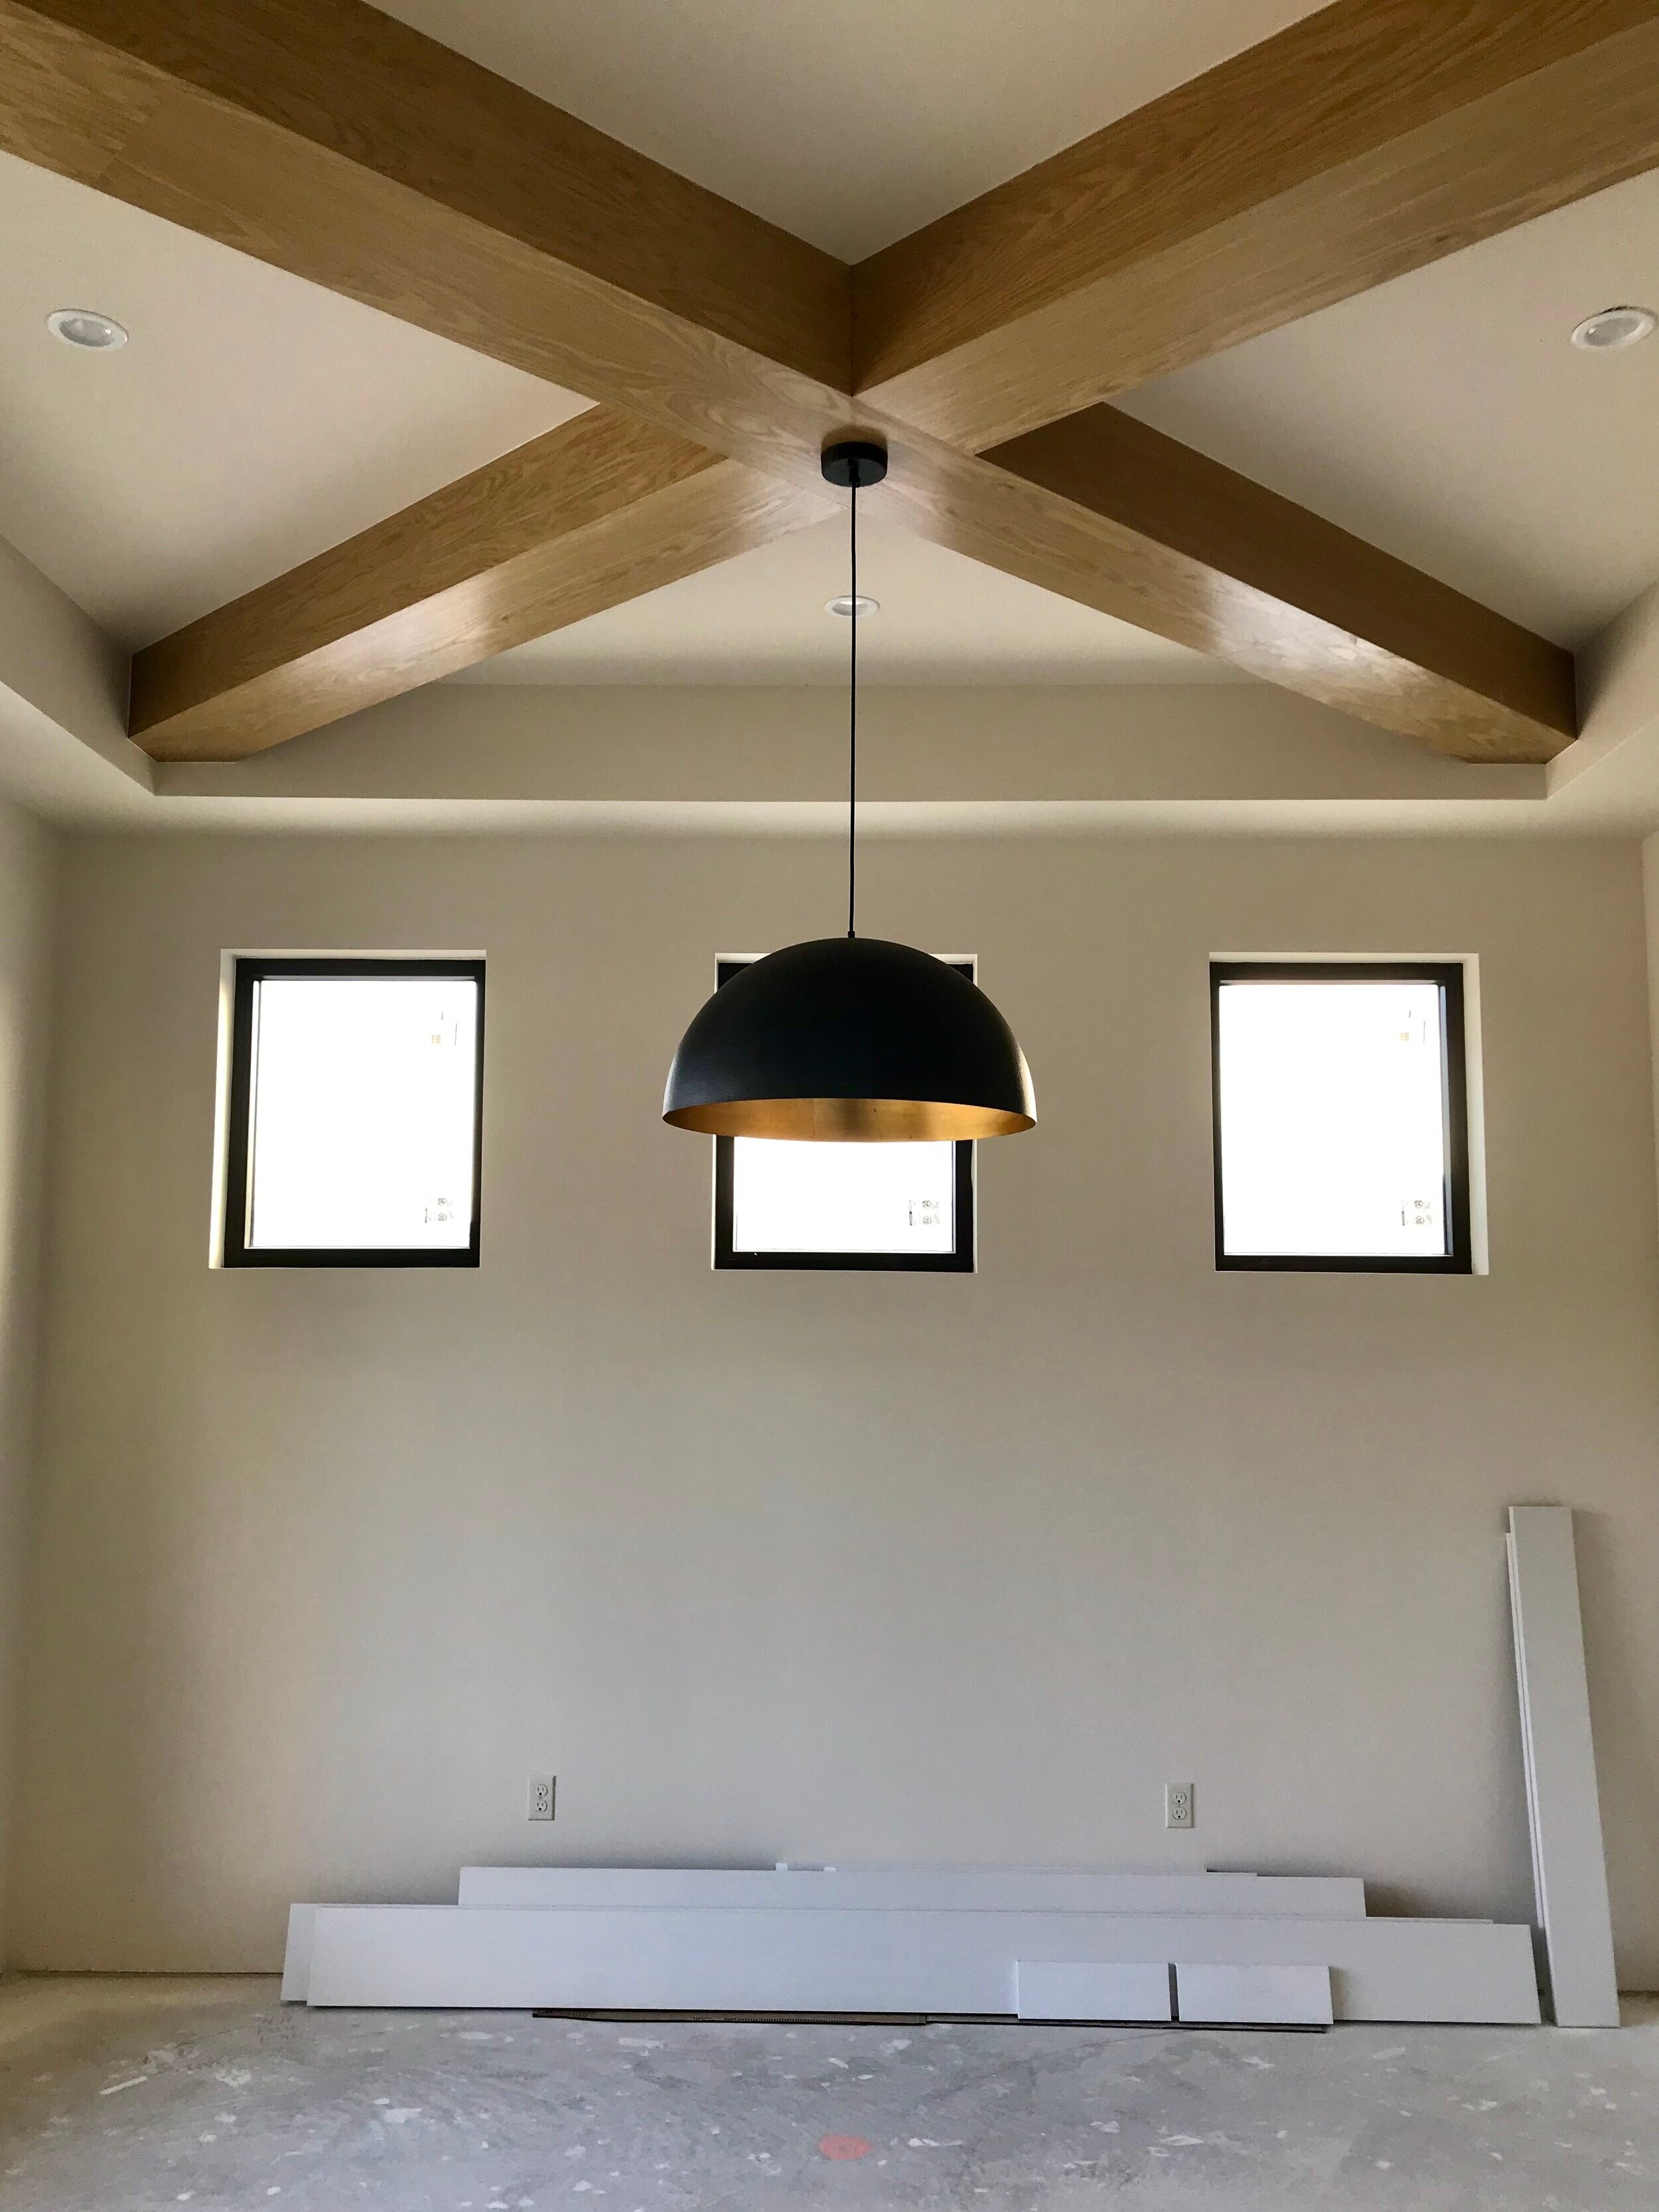
Photo courtesy of Getty Images
There are many roles in a construction project, and every professional works a little differently. Interviewing and establishing your project team in advance is a key component to the success of your project. Let’s examine key roles and responsibilities, and I’ll offer tips for success based on years of experience in the industry.
ROLES:
Architect – This professional will walk through your high-level vision and functionality goals, and develop plans guided by the details of your site and budget. Some architects will select specific materials and fixtures, others provide the fundamental framework and rely on an interior designer to identify the specifics. Many architects, designers, and builders get involved together early and work hand in hand through the process.
Builder – It is this professional’s job to execute the plan. Builders have different models: the 2 most common being “fixed cost” and “cost plus”. It is their job to pull together the tradesmen and the schedule, usually to purchase all materials, and to oversee the quality of workmanship. There are many moving parts; think of them like the conductor of an orchestra.
Interior Designer – There are designers with varying sweet spots of expertise ranging from building materials to furniture, but a “full-service design firm” will work with you to select all of the specific materials for your home not selected by the architect. This can include everything from the type of masonry on the exterior and the fireplace box, to the plumbing, light fixtures and interior surfaces, and the final furniture and accessories (if you have worked with us at Laura Burton Interiors for example, we are a full-service design firm).
Tradesmen, Specialists, and Vendors – This support network is usually pulled together and orchestrated by your builder. It includes sub-contractors such as electricians and plumbers, vendors such as appliance and flooring salesmen, and specialists such as pool contractors and landscape companies. Select a builder you trust and default to his network for the best result.
TIPS FROM EXPERIENCE:
Tip #1: Establishing trust is key. I’ve found that clients who trust the experts reduce stress during the process and have the best chance of a successful outcome. Regardless of which team member you identify first, most experienced professionals have good working relationships with other industry partners and will recommend team members with whom they’ve worked successfully.
Tip #2: Get references and familiarize yourself with their work. What do former clients say were the successes and challenges of their project? Does the outcome of the professional’s work resonate with you? Have you seen projects of theirs you especially like and can reference?
Tip #3: Respect their established processes. Things will go smoother if you allow your team to work in the way they work best. Most likely they have honed their processes through years of experience. Occasionally, clients will request that professionals modify their methods to suit how the client wants to work (for example: ‘my cousin Ted has a flooring company and I want to make that purchase directly’). My observation is that without fail, exceptions and special requests disrupt the process and cause delays. If you hired a professional you trust, let them take the reins. If you have special requests that are important to you, that’s okay, but understand they will likely impact the schedule or the cost.
Tip #4: Know who IS and who is NOT on your project team (hint: most likely your friends and family are NOT). Please know that I am not trying to diss your friends and family. Chances are they are smart and have good taste. The bottom line, however, is that they have not been involved with you through the process, nor have they participated in all of the conversations. They are not working with the same information as your project team and therefore will not have a completely thorough understanding of why certain decisions have been made. For example: I was once helping a family member with a project remotely, and in his friend-circle was a realtor with experience and opinions. He and I would talk for hours, land on a decision, and then conversations with that friend prompted uncertainty and indecision. Regardless of whether she was good at her job, she was not part of our process & didn’t have a thorough understanding of why we landed on our decisions. It was a counter-productive cycle which resulted in an exhausted team and project delays.
Tip #5: Understand YOUR role in the process. This is your home, and while you should let the experienced professionals drive the process, your ultimate satisfaction is everyone’s goal. There are many decisions to be made when building or remodeling. Some homeowners want to touch every decision; others find it overwhelming. Tell your team what kind of involvement you desire. Occasionally I’ve had clients say things like: “I want my home to feel like this specific project of yours. I’ll default to you for the details.” That reference is really helpful. A key aspect of your role is decision timing. Because they want you to be happy, each professional will rely on you for feedback and decisions, some of which they can’t move forward without. Start early with developing your vision and stay ahead of the process to keep things moving smoothly. Once in construction, answer questions promptly. If the builder & designer don’t have decisions from you, progress can’t be made. At that point the schedule is in your hands. Another aspect of your role is the budget. If you referenced a project on a professional’s website and want something similar, expect to pay a similar price. The expression “caviar on a beer budget” comes to mind. Clients frequently get sticker shock, but understand that you’ll be making compromises on quality or the aesthetic if the budget becomes the decision driver. Things cost what they cost, and beautiful things usually cost more. It’s an unfortunate fact that I wish myself weren’t true, but sadly, it is.
Building or remodeling can be an exciting adventure with fabulous results. That’s what we all hope for with every project. Follow these tips to have the best chance for a smooth experience and a successful end result.